- Published on
Stripe Payment Integration and Sandbox Testing A Step-by-Step Tutorial
- Authors

- Name
- Adil ABBADI
Introduction
Stripe is a widely used payment gateway that provides an efficient and secure way to process online payments. With its robust API and extensive documentation, Stripe has become a popular choice among developers and businesses alike. In this article, we will delve into the process of integrating Stripe payment gateway and performing sandbox testing to ensure a seamless payment experience in your e-commerce application.

Setting Up a Stripe Account
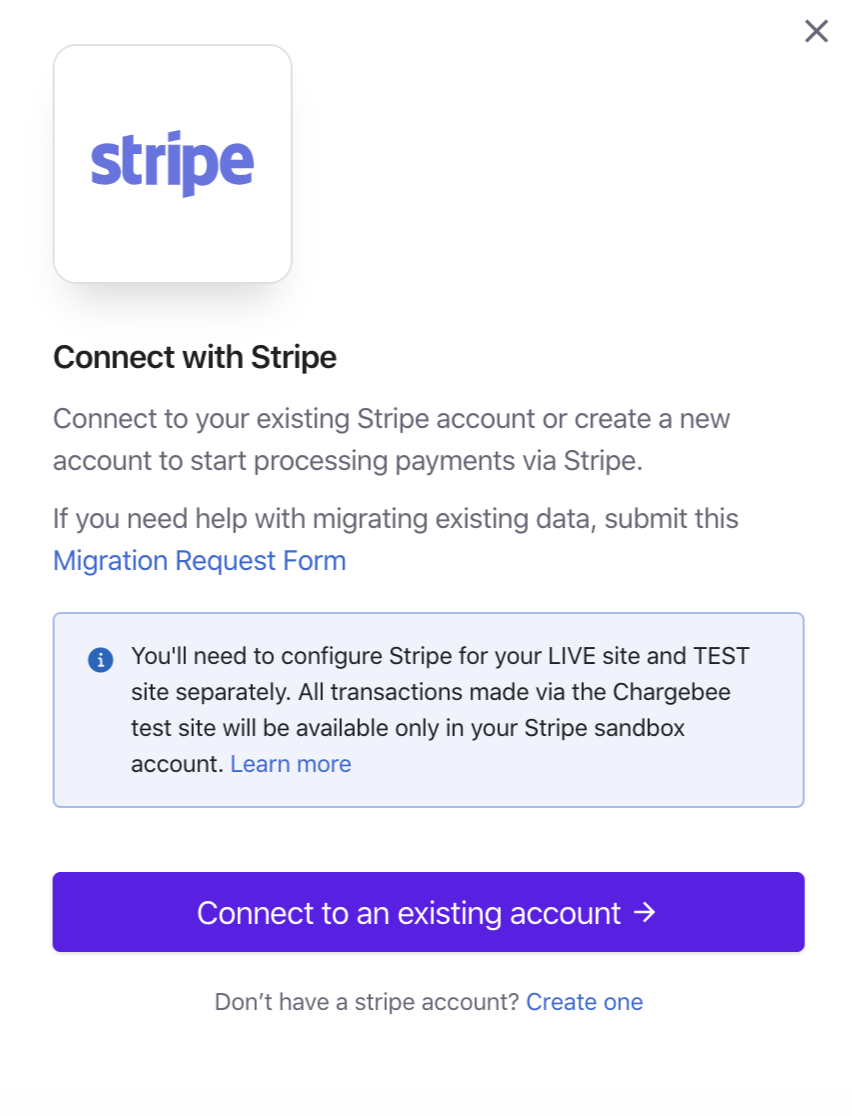
Before we dive into the integration process, you need to create a Stripe account. Head over to the Stripe website (www.stripe.com) and follow the sign-up process. Once you've created your account, you'll be redirected to the Stripe dashboard.
Creating a Stripe Test Mode
To test our payment integration, we'll create a test mode in Stripe. This mode allows us to test our payment flow without actually charging any cards. In the Stripe dashboard, click on the "Developers" tab and then click on "API keys". Here, you'll find your test mode API secret key. Note down this key as we'll use it later in our code.

Integrating Stripe Payment Gateway
Now that we have our Stripe test mode set up, let's integrate the payment gateway into our application. We'll use the Stripe JavaScript library to handle the payment flow.
<!DOCTYPE html>
  src="https://js.stripe.com/v3/">
  <script>
    const stripe = Stripe('YOUR_STRIPE_SECRET_KEY');
    const elements = stripe.elements();
    const cardElement = elements.create('card', {
      classes: {
        focus: 'focus'
      }
    });
    cardElement.mount('#card-element');
  </html>
In the above code, replace "YOUR_STRIPE_SECRET_KEY" with your actual Stripe test mode secret key. This code sets up the Stripe payment form and mounts it to our HTML page.
Handling Payment Form Submission
When the user submits the payment form, we need to handle the payment processing. We'll create a JavaScript function to handle the form submission.
const form = document.getElementById('payment-form')

form.addEventListener('submit', function (event) {
  event.preventDefault()
  stripe.createToken(cardElement).then((result) => {
    if (result.error) {
      console.log(result.error)
    } else {
      // Handle successful token creation
      const token = result.token
      // Call your server-side API to charge the card
    }
  })
})
In this code, we're creating a token using the Stripe JavaScript library. We'll then use this token to process the payment on your server-side API.
Sandbox Testing
Now that we've integrated the Stripe payment gateway and handled the payment form submission, it's time to test our payment flow. Stripe provides a sandbox testing environment where we can test our payment flow without charging any cards.
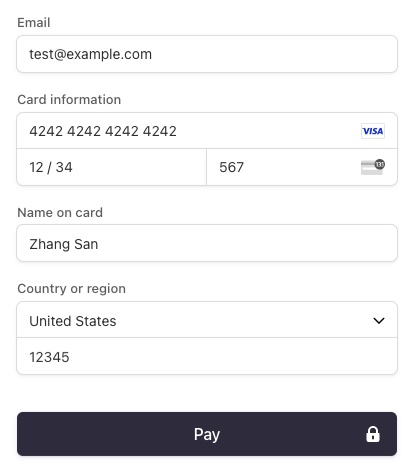
Stripe provides a range of test card numbers and scenarios to test different payment scenarios. You can find these test card numbers in the Stripe documentation.

Using these test card numbers, you can simulate different payment scenarios, such as successful payments, declined payments, and card verification.
Conclusion
In this article, we've learned how to integrate Stripe payment gateway and perform sandbox testing in our application. By following these steps, you can ensure a seamless payment experience for your customers.
Further Learning
Stripe provides an extensive range of documentation and tutorials to help you integrate their payment gateway into your application. For further learning, I recommend checking out the Stripe documentation and exploring their API references.
Happy coding!
