
- Published on
Deploying Next.js Applications on AWS Amplify A Step-by-Step Guide
- Authors

- Name
- Adil ABBADI
Introduction
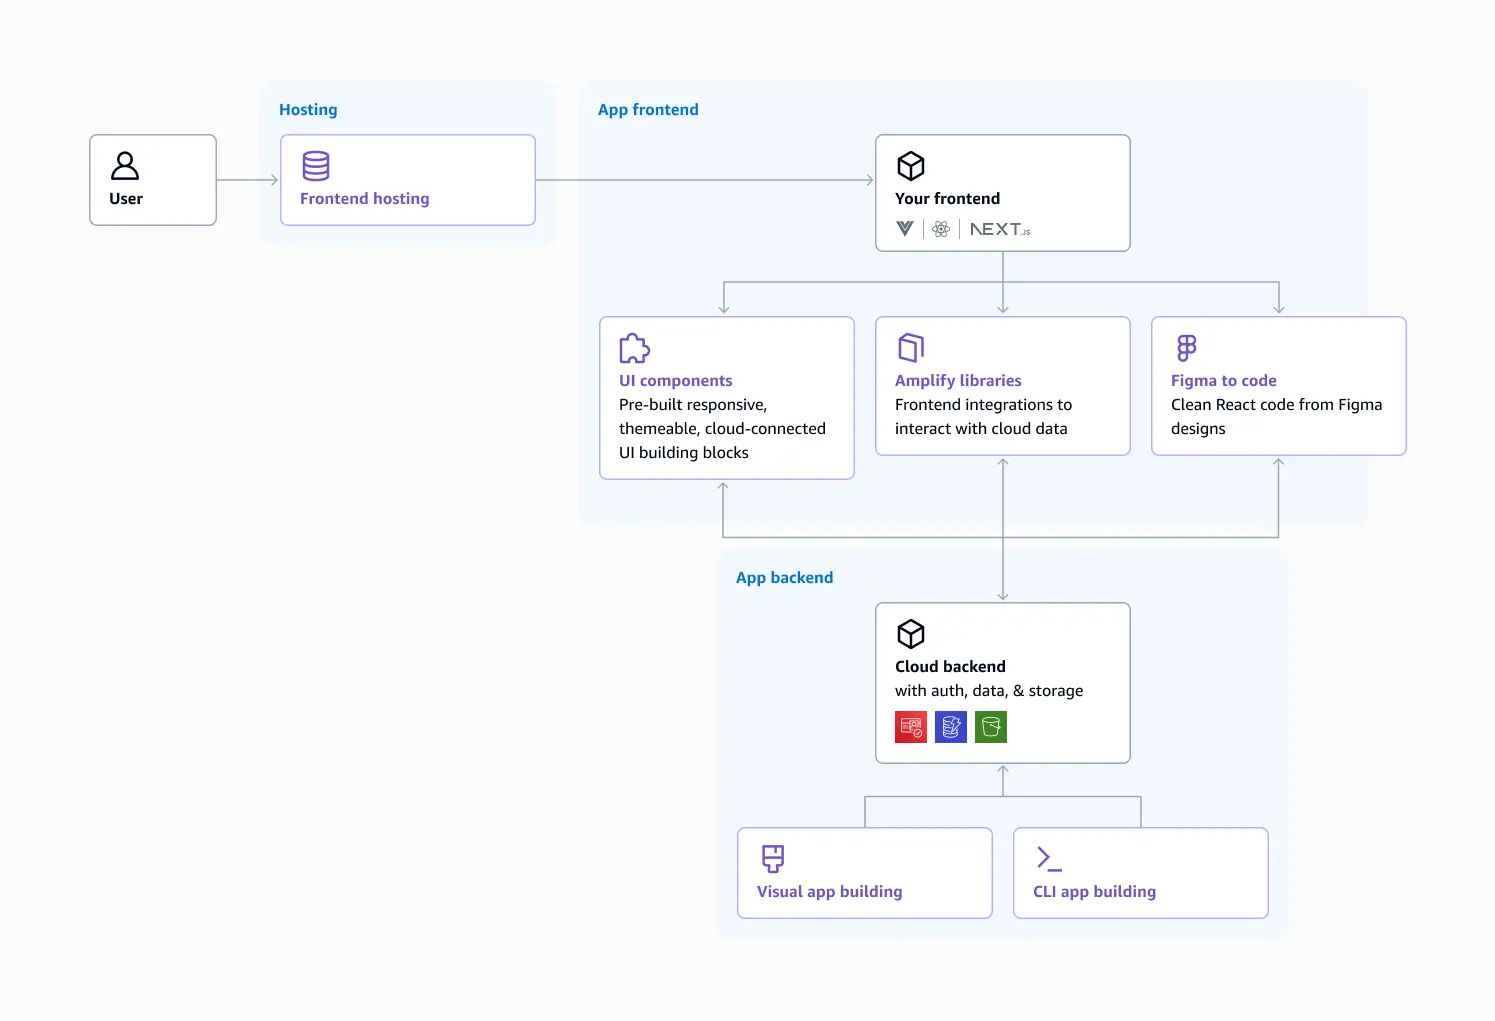
Next.js empowers developers to build robust, high-performance React applications with features like server-side rendering, static site generation, and API routes. AWS Amplify, on the other hand, streamlines cloud deployments, providing seamless CI/CD, hosting, and backend services tailored for modern web frameworks. This article presents a comprehensive guide to deploying your Next.js apps on AWS Amplify, unlocking scalability and ease of management for your projects.
- Setting Up Your Next.js Project
- Connecting AWS Amplify to Your Repository
- Configuring SSR and Environment Variables
- Conclusion
- Ready to Deploy Your Next.js App?
Setting Up Your Next.js Project
Before deploying, ensure your Next.js application is production-ready and properly structured for deployment on Amplify.
Step 1: Create or Prepare Your Next.js App
Start with a basic project or clone your existing repository:
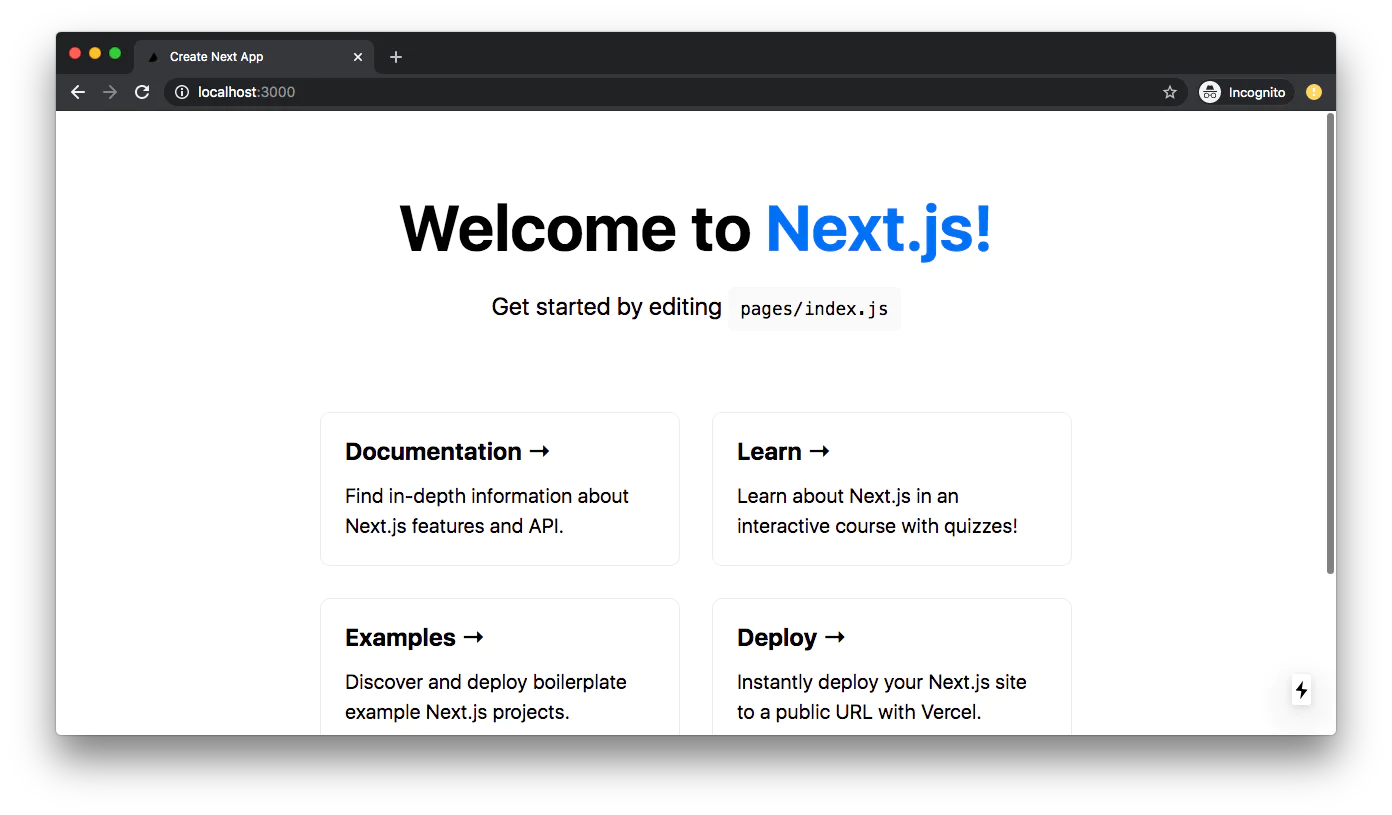
npx create-next-app my-nextjs-app
cd my-nextjs-app
Organize your project so static and server-side routes are clearly defined. Test it locally:
npm run dev
Step 2: Configure Your Build Settings
AWS Amplify auto-detects Next.js projects, but for advanced setups or monorepos, define custom build settings. Create or edit your amplify.yml at the root:
version: 1
frontend:
  phases:
    preBuild:
      commands:
        - npm install
    build:
      commands:
        - npm run build
  artifacts:
    baseDirectory: .next
    files:
      - '**/*'
  cache:
    paths:
      - node_modules/**/*
Connecting AWS Amplify to Your Repository
AWS Amplify supports seamless integration with popular code repositories such as GitHub, GitLab, and Bitbucket for streamlined CI/CD.
Step 1: Access the Amplify Console
Navigate to the AWS Management Console and search for "Amplify". Click "Get Started" under "Deploy".
Step 2: Connect Your Repository
Select your repository provider (e.g., GitHub), grant access to your account, and choose the repository and branch for your Next.js app.
Step 3: Review and Edit Build Settings
Amplify auto-detects your framework and provides recommended build settings. Edit if necessary, then click "Save and Deploy".
Amplify will clone your repo, install dependencies, run builds, and deploy your Next.js app using the configuration provided.
Configuring SSR and Environment Variables
Next.js supports Static Generation (SSG), Server Side Rendering (SSR), and API routes. Amplify provides serverless SSR support using AWS Lambda@Edge for Next.js dynamic features.
Enable Server-Side Rendering
Once deployed, Amplify automatically detects SSR routes in your Next.js project and provisions AWS Lambda functions behind the scenes.
If you use environment variables (e.g., API keys, endpoints), set them in the Amplify Console:
- Go to App settings > Environment variables.
- Add your custom variables and redeploy.
Access these variables securely in your code:
process.env.MY_CUSTOM_API_URL
Custom Domains and Redirects
To add a custom domain:
- Navigate to Domain Management in the Amplify Console.
- Connect your domain, follow DNS instructions, and set up redirects or rewrites as needed.
Example redirect configuration in the Amplify Console:
[
  {
    "source": "/old-route",
    "target": "/new-route",
    "status": "301",
    "condition": null
  }
]
Conclusion
Deploying Next.js applications on AWS Amplify provides a complete, scalable cloud solution combining modern CI/CD, serverless SSR, secure hosting, and streamlined integrations. By preparing your project, connecting to Amplify, and configuring advanced features, you can deliver robust full-stack web experiences at scale.
Ready to Deploy Your Next.js App?
Dive into AWS Amplify and elevate your Next.js projects today. With Amplify’s growing suite of serverless tools and global infrastructure, your apps are just a few clicks away from production. Happy coding!